How to Repair Your Motorcycle: A Step-by-Step Guide
1. Diagnosing the Problem
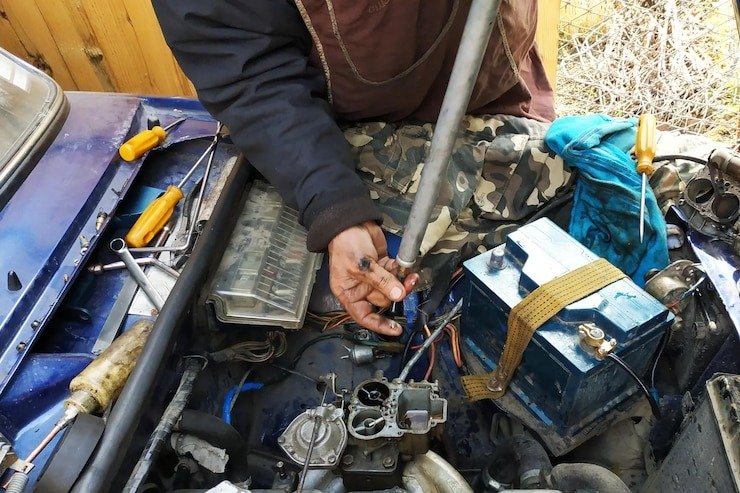
When your motorcycle isn’t running correctly, the first and crucial step is diagnosing the problem accurately. This initial phase involves a comprehensive inspection to identify any common issues affecting your motorcycle’s performance. Failures and brake malfunctions are frequent culprits that require meticulous attention.
Begin with a thorough visual inspection of your motorcycle. Look for any visible signs of damage, such as leaks, loose wires, or worn-out parts. Pay close attention to the engine, as issues in this vital component can significantly impact the overall functionality of your motorcycle. Additionally, check the electrical system, including the battery, fuses, and wiring connections, to ensure no power flow disruptions. It should also be inspected for any signs of wear or damage, as they are critical for safe operation.
Listening for unusual sounds is another essential aspect of diagnosing motorcycle problems. Start your motorcycle and pay attention to abnormal noises, such as knocking, grinding, or hissing. These sounds can provide valuable clues about underlying issues. For instance, a knocking sound might indicate an engine problem, while a hissing noise could suggest a leak in the exhaust system.
Once the visual and auditory inspections are complete, it’s time to gather the necessary tools for a more detailed examination. Essential tools include a multimeter for checking electrical circuits, a compression tester for assessing engine health, and wrenches and screwdrivers for accessing various components. Ensure you have a safe and stable workspace, preferably with a motorcycle stand to securely hold your bike during the diagnostic process.
Handling your motorcycle safely during this phase is paramount. Always follow safety guidelines, such as wearing appropriate protective gear, ensuring the bike is on a stable surface, and disconnecting the battery when working on electrical components. Conducting a thorough and careful diagnosis lays the foundation for effective and precise repairs, ensuring your motorcycle returns to optimal performance.
Gathering the Necessary Tools and Parts
Before embarking on any motorcycle repair, gathering all the essential tools and parts you will need is crucial. Having a well-stocked toolkit not only speeds up the repair process but also ensures that the job is done correctly. Here, we outline the basic and specialized tools required and tips for sourcing quality replacement parts.
To begin with, an essential toolkit for motorcycle repairs should include:
- Wrenches: A set of open-end and box-end wrenches in various sizes is indispensable.
- Screwdrivers: Both flathead and Phillips screwdrivers in multiple sizes will cover most situations.
- Allen keys: A complete set of hex keys, often necessary for removing fairings and other components.
- Pliers: Needle-nose, slip-joint, and locking pliers are helpful for various tasks.
- Multimeter: Essential for diagnosing electrical issues and ensuring proper voltage levels.
In addition to these essential tools, certain specialized tools are often needed for more specific repairs:
- Torque wrench: Ensures that bolts are tightened to the manufacturer’s specifications. TyreTyre prevents over-tightening or untyresightening.
- Tire irons: Necessary for changing tires and tubes efficiently.
- Chain breaker and rivet tool: Useful for replacing or repairing your motorcycle’s chain.
- Oil filter wrench: Simplifies changing your motorcycle’s oil filter.
When it comes to replacement parts, sourcing high-quality components is paramount. Local motorcycle dealerships often provide reliable parts guaranteed to be compatible with your specific model. Moreover, online marketplaces such as RevZilla, BikeBandit, and Amazon offer a wide selection of motorcycle parts. Always ensure that the parts you purchase are compatible with your motorcycle model by cross-referencing part numbers or consulting with knowledgeable staff.
Check customer reviews and ratings for tools and parts to avoid potential pitfalls. This can provide insights into the quality and reliability of the products. Equipping yourself with the right tools and parts will set the stage for a successful and efficient motorcycle repair experience.
Step-by-Step Repair Process
Repairing your motorcycle can seem daunting, but breaking it down into manageable steps can simplify the process. Here, we will guide you through several common motorcycle repairs, offering detailed instructions, safety tips, and troubleshooting advice.
Changing the Oil
Step 1: Prepare your work area. Ensure your motorcycle is on a stable surface and gather all necessary tools, including an oil filter wrench, drain pan, and replacement oil.
Step 2: Warm up the engine for a few minutes to allow the oil to flow more easily. Turn off the engine and place the drain pan under the oil drain plug.
Step 3: Use the wrench to remove the drain plug. Allow the oil to drain completely before replacing the plug.
Step 4: Remove the old oil filter using the oil filter wrench and replace it with a new one. Be sure to lubricate the gasket on the new filter with a bit of fresh oil.
Step 5: Refill the engine with the recommended type and amount of oil. Check for leaks and ensure the oil level is correct.
Replacing Brake Pads
Step 1: Elevate your mcallipecalliperle and remove the whecalliperccess the brake caliper.
Step 2callipere the calliper bolts and carefully slide the caliper off the brake disc.
Step 3: Remove the old brake pads and replace them with new ones. Ensure they are accurately aligned and seated.
Step 4: Reattach the caliper and wheel, then check the brake lever for proper pressure before riding.
Fixing Electrical Wiring
Step 1: Identify the faulty wiring. Use a multimeter to trace the electrical flow and locate breaks or shorts.
Step 2: Disconnect the battery to prevent electrical shock or further damage.
Step 3: Repair or replace the damaged wiring. Use electrical tape or heat shrink tubing to insulate connections and prevent future issues.
Step 4: Reconnect the battery and test the electrical system to ensure all components function correctly.
Engine Rebuild
Step 1: Disassemble the engine; noting each component’s placement involves removing the engine from the frame and dismantling each part.
Step 2: Inspect each component for wear and tear. Replace any damaged parts, such as piston rings or gaskets,
Step 3: Clean all components thoroughly before reassembling the engine.
Step 4: Reassemble the engine, ensuring all parts are correctly installed and torqued to the manufacturer’s specifications.
Step 5: Reinstall the engine into the motorcycle frame and test for proper operation.
By following these step-by-step instructions, you can confidently confidently address many common motorcycle issues. Always prioritize safety and consult your motorcycle’s service manual for specific guidelines and torque specifications. Visual aids and diagrams can further assist in understanding the repair process, ensuring accurate and efficient repairs.
Testing and Maintenance
After completing the necessary repairs on your motorcycle, conducting a series of tests is imperative to ensure that your vehicle is operating smoothly and safely. Begin by checking all fluid levels, including engine oil, brake fluid, and coolant. These fluids are vital for the proper functioning of your motorcycle and should be at the recommended levels. Any discrepancy can indicate potential issues that need immediate attention.
Next, verify the proper function of your brakes. This involves checking both the front and rear brakes for responsiveness and efficiency. Squeeze the brake lever and press the pedal to ensure they engage smoothly and effectively. Any sponginess or lag in response could indicate air in the brake lines or worn brake pads, both of which require prompt addressing.
Performing a test ride is a crucial step in the post-repair process. Start with a short ride at low speeds to assess the motorcycle’s performance. Gradually pay attention to the engine’s response, the transmission’s smoothness, and the handling. Listen for any unusual noises and feel for any abnormal vibrations. Gradually increase your speed and test the motorcycle under different conditions to ensure all components function as expected.
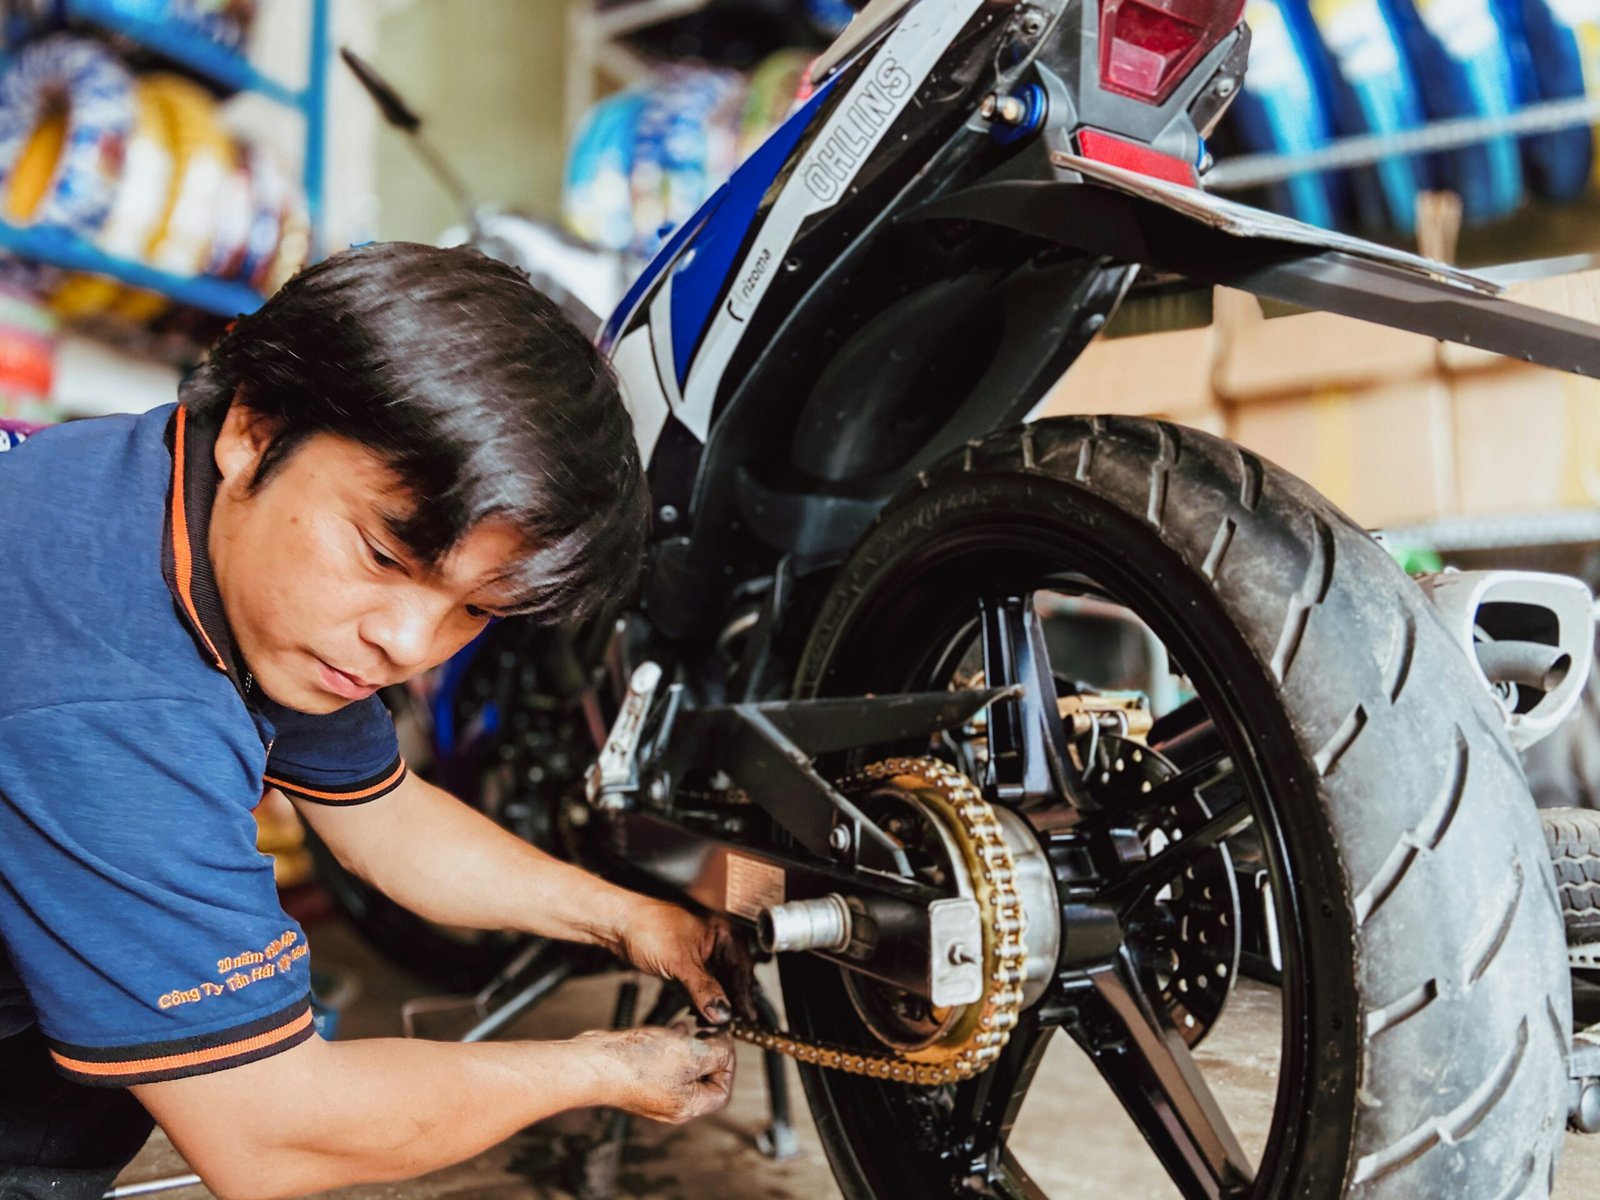
Regular maintenance is paramount to preventing future issues and prolonging the life of your motorcycle. Establishing a maintenance schedule is essential. This schedule includes regular oil changes, brake inspections, tire pressure checks, and chain lubrication. Additionally, periodically inspect the electrical system, including lights and indicators, to ensure they are in working order.
Safety checks are an integral part of ongoing care. Before each ride, conduct an inspection of your motorcycle. Check the tires for any signs of wear or damage, ensure the brakes are responsive, and verify that all lights and signalsfunctiong correctly. These simple precautions can prevent accidents and keep your motorcycle in top condition.
By following these testing and maintenance steps, you can ensure that your motorcycle remains reliable and safe, allowing you to enjoy your rides with peace of mind.
Items on the Back of Some Jeeps: Exploring the Essentials
Software Development as a Service: Transforming Business Solutions