How to Get the Perfect Light Brown Nails Color
Hey there, nail enthusiasts! 🌟 Ready to get your nails looking fabulous with that perfect light brown color? Well, you’ve come to the right place. Whether you’re a nail newbie or a seasoned pro, we’ve got you covered. So, let’s dive into the world of light brown nails, and trust me, by the end of this, you’ll be flaunting your stunning nails like a total diva. Let’s nail this!
Table of Contents
ToggleWhy Light Brown?
Before we get our hands dirty (pun intended), let’s talk about why light brown is such a fantastic color choice. Light brown is like the Swiss Army knife of nail colors. It’s versatile, classy, and goes with just about anything. Light brown nails will have your back, whether heading to a fancy dinner or just lounging at home in your PJs. Plus, it’s not too loud, so you won’t have to worry about scaring off your boss during that Zoom call. Win-win!
Step-by-Step Guide to Perfect Light Brown Nails
Alright, let’s get down to business. Here’s a step-by-step guide to help you achieve that flawless light brown manicure.
Step 1: Gather Your Supplies
First things first, you need to gather all your nail supplies. Here’s what you’ll need:
- Nail polish remover: To get rid of any old polish.
- Nail file and buffer: To shape and smooth your nails.
- Cuticle pusher and nipper: To tidy up those cuticles.
- Base coat: To protect your nails.
- Light brown nail polish: The star of the show!
- Top coat: For that extra shine and durability.
- Nail polish thinner: In case your polish is too thick.
- Cotton balls and Q-tips: For any cleanup.
Pro tip: If you don’t have a light brown polish yet, no worries! You can mix a bit of white polish with brown to get that perfect shade.
Step 2: Prep Your Nails
Preparation is essential, my friend. Start by removing any old nail polish with a nail polish remover. Ensure your nails are clean and dry before moving on to the next step.
Next, grab your nail file and shape your nails to your desired shape. Whether you prefer square, round, or almond-shaped nails, make sure they’re even. Remember, you want them to look like siblings, not twins.
Now, take your buffer and gently buff the surface of your nails. This will help remove any ridges and give you a smooth canvas to work on.
Step 3: Take Care of Your Cuticles
Cuticles can be tricky, but they’re essential for a neat look. Use a cuticle pusher to gently push back your cuticles. If you have excess skin, carefully trim it with a cuticle nipper. Just be careful not to go overboard and end up with sore fingers!
Step 4: Apply the Base Coat
A base coat is like a primer for your nails. It helps the polish adhere better and protects your nails from staining. Apply a thin layer of base coat and let it dry completely. Patience, my dear!
Step 5: Apply the Light Brown Nail Polish
Now for the fun part! Shake your light brown nail polish bottle well. Apply a thin layer of polish to your nails, starting from the center and moving to the sides. Don’t worry if the first coat looks a bit sheer – we’ll build up the color.
Let the first coat dry completely before applying a second coat. This time, apply a slightly thicker coat for full coverage. If needed, you can use a third coat for that perfect opacity. Remember, thin layers are better than thick ones to avoid streaks.
Step 6: Clean Up the Edges
We all make mistakes, and that’s okay! If you get some polish on your skin, use a Q-tip dipped in nail polish remover to clean up the edges. No one will ever know!
Step 7: Apply the Top Coat
To seal the deal, apply a top coat to your nails. This adds shine and helps your manicure last longer. Make sure to cover the tips of your nails to prevent chipping. Shiny and fabulous!
Step 8: Let It Dry
This is the hardest part – waiting for your nails to dry. Resist the urge to touch anything for at least 20-30 minutes. Seriously, don’t even think about it!
Extra Tips and Tricks
Now that you’ve mastered the basics, here are some tips to make your light brown nails even more fabulous.
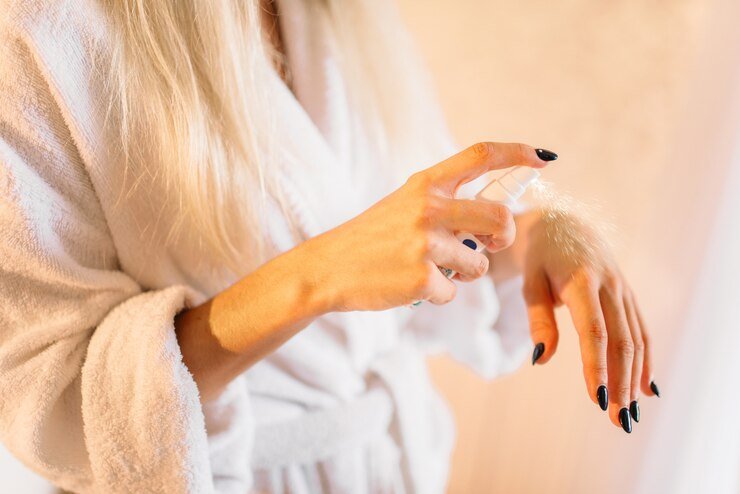
Tip 1: Moisturize Your Hands
Dry hands can ruin a good manicure. Keep moisturizing your hands and cuticles with good hand cream or cuticle oil. Soft hands, happy nails!
Tip 2: Avoid Hot Water
Hot water can cause your nail polish to chip faster. Try to avoid long, hot showers or washing dishes without gloves. Your manicure will thank you!
Tip 3: Use a Fast-Drying Top Coat
If you’re in a hurry, a fast-drying top coat can be a lifesaver. It helps your nails dry quicker and adds an extra layer of protection. No more waiting forever!
Tip 4: Touch Up as Needed
Even the best manicures can chip. Keep your light brown nail polish handy for touch-ups. A quick swipe can make your nails look fresh again—easy peasy!
Conclusion
And there you have it – the perfect light brown nails! With these simple steps, you’ll have a gorgeous manicure that will turn heads. Remember, practice makes perfect, so don’t get discouraged if it takes a few tries to get it right. Now go on and flaunt those fabulous nails!
Happy painting, and may your nails always be on point!
I hope you enjoyed this guide on achieving the perfect light brown nails. If you have any questions or tips, feel free to share them in the comments below. Let’s keep those nails looking fabulous together!
Meta Description
“Learn how to achieve the perfect light brown nails with our simple step-by-step guide. Get tips, tricks, and answers to FAQs for a flawless manicure that’s both classy and versatile. Discover the secret to stunning light brown nails today!”
Meta Tags
light brown nails, how to get light brown nails, nail care tips, perfect manicure, nail polish guide, nail tutorial, light brown nail polish, nail fashion, nail trends, manicure tips, nail polish application, nail care, beauty tips, nail guide, easy manicure, DIY nails
FAQs
Q: How can I prevent my light brown nail polish from chipping?
A: To prevent chipping, apply a base coat before your nail polish and a top coat after. Avoid hot water and use gloves when doing dishes. Also, try to avoid using your nails as tools.
Q: What should I do if my light brown nail polish is too thick?
A: If your nail polish is too thick, add a few drops of nail polish thinner and shake the bottle well. This should help restore the polish to a usable consistency.
Q: How long should I wait between applying coats of nail polish?
A: It’s best to wait at least 5-10 minutes between coats of nail polish. This ensures each layer dries appropriately and reduces the risk of smudging.
Q: Can I mix different nail polish shades to get the perfect light brown color?
A: Absolutely! You can mix a bit of white polish with brown polish to achieve the perfect light brown shade. Just mix well and test the color on a piece of paper before applying it to your nails.
Q: How do I keep my hands and cuticles moisturized?
A: Regularly use a good hand cream or cuticle oil to keep your hands and cuticles moisturized. Applying it before bed can be incredibly effective.
Q: Why does my nail polish bubble after application?
A: Nail polish can bubble if applied too thickly or if there are air bubbles in the polish. To avoid this, apply thin layers and roll the polish bottle between your hands instead of shaking it.
Q: How can I make my manicure last longer?
A: To extend the life of your manicure, apply a top coat every few days. Please avoid using your nails as tools, and keep them away from hot water as much as possible.
Q: What if I accidentally smudge my nail polish?
A: If your nail polish smudges, you can try smoothing it out with a dampened finger or a brush dipped in nail polish remover. Alternatively, you can apply another thin layer of polish to cover the smudge.